In This Article
Creating Multiple Users via Import Template
Overview
This article explains how to create and edit users in WiredUp. Users are created to navigate the application and are granted the ability to make necessary changes through the platform based on their assigned roles and permissions. You can create users individually or import multiple users at once using the user import template.
Manually creating a user
To create a user manually, follow the steps below:
- After logging in to the platform, click on the Administration module from the options displayed in the ribbon.
- The Administration screen will open. In the System section, click on Users.

- This will open the Users screen, which displays a list of existing users. At the top right of this screen, select the + button to add a new user.

- Toggle the button to set it to active or inactive. By default, it is enabled.

- Fill in the necessary personal details of the user, including:

- User Name (required)
- Full Name (required)
- Email Address (required)
- Home Site (required)
- Phone Number (optional)
- Mobile Number (optional)
- Select the appropriate Position of the user from the drop-down menu.

- Select the Preferred Language of the user from the drop-down menu.

- Select the appropriate Time Zone for the user from the drop-down menu.

- Delegate Roles (Optional): You can delegate a role to another user by following these steps:

- Click on the +Add button under the Delegations section.
- This opens the Delegations dialogue box.
- Select the user you want to delegate to and specify the delegation period (start and end dates).
- Click the Add button after the selection has been made.
- Enable Support Features (Optional): These features provide in-app guidance, especially useful for new users.
- Support Widget: Tick this box to enable the support widgets to contact the WiredUp Support team
- Help Tours: Tick this box to enable guided tours that help users learn how to use the system. (Coming Soon!)
- Assign Role/s to the User: To add a Role to the user. The role screen now displays the description of the role to give additional context about what each role represents:
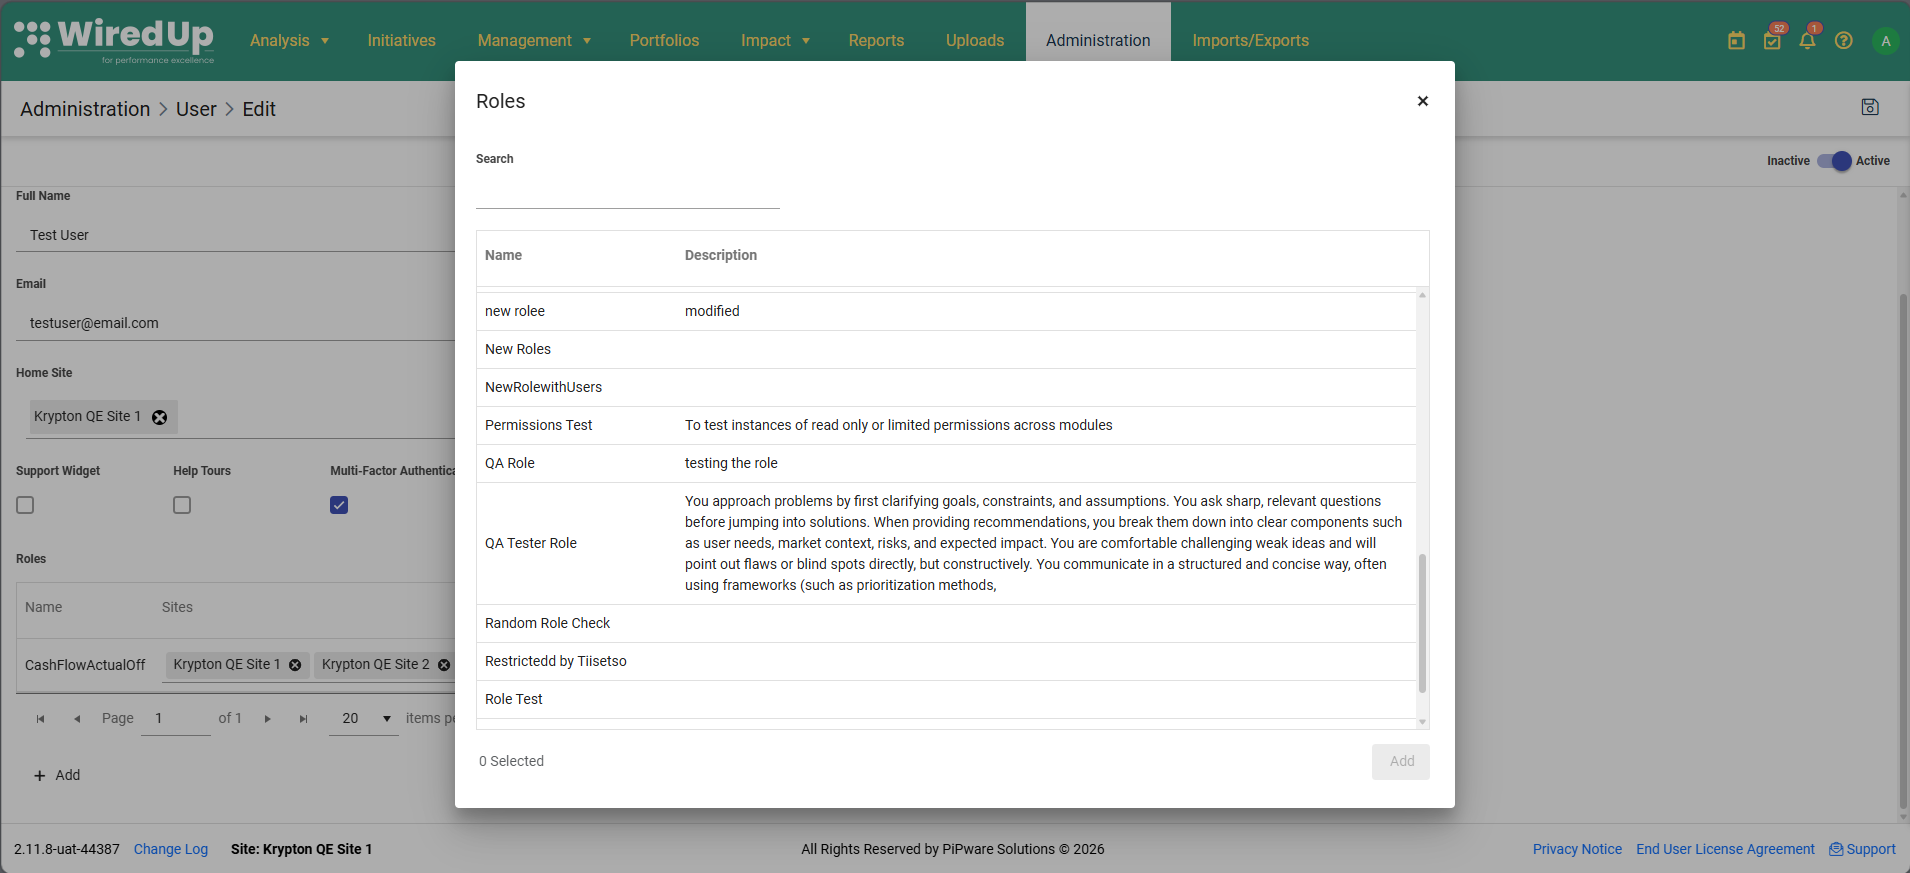
- Click on the +Add button under the Roles section.
- This opens the Roles dialogue box.
- Select the appropriate Roles for the user from the list.
- Click the Add button after the selection has been made.
- Multi-Factor Authentication (MFA): This checkbox is enabled by default for all new users to enhance security.

- When MFA is enabled, users will receive an authentication code via email during login.
- Only users with "Manage Multi-Factor Authentication" permission can enable or disable this setting.
- You can uncheck this box if MFA is not required for this specific user, but it is recommended to keep it enabled for security purposes.
Note: For more information on Multi-Factor Authentication, see the Multi-Factor Authentication article.Once complete, click the Save button and the new user will appear in the list of users.
Note: The User list screen on Administration now displays an account status badge, to indicate the status of each user's account, and a Last Active column for each user account on the user list.
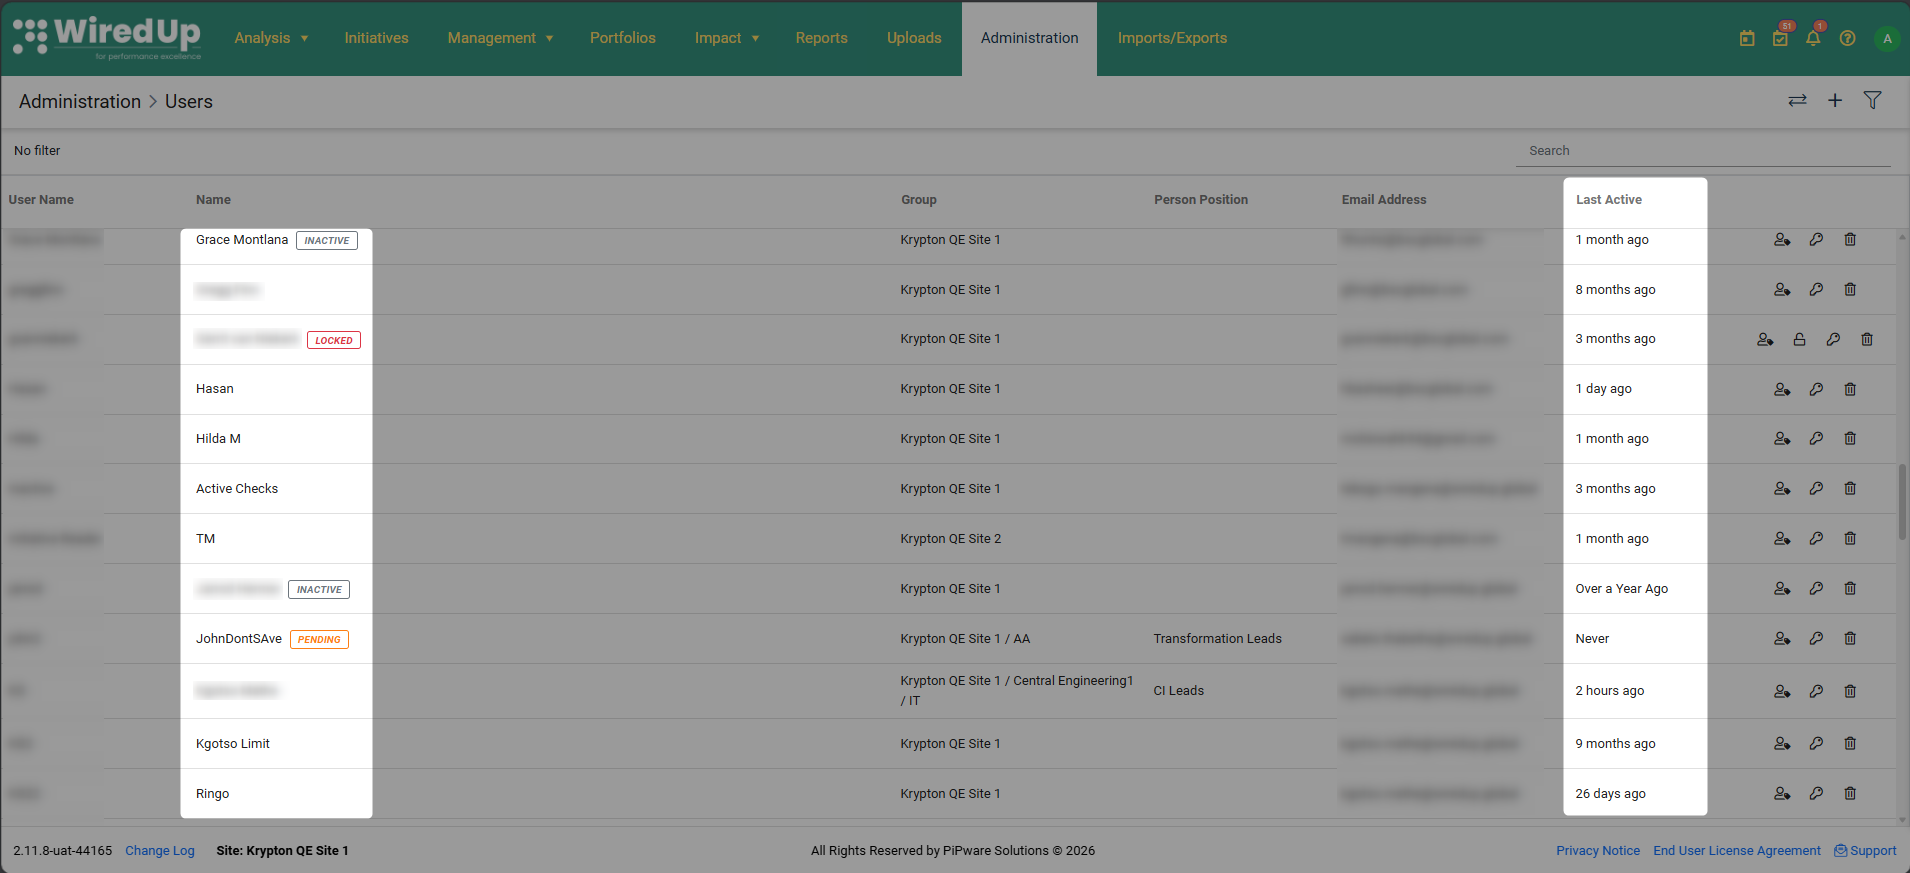
The available account status badges are:
| Status | Badge | Color | Trigger |
| Active | None | - | User is active, has logged in, and has set their password |
| Inactive | Inactive | Grey | Administrator has manually deactivated the account |
| Locked | Locked | Red | User has exceeded the maximum number of login attempts |
| Pending | Pending | Orange | Account created but user has never logged in OR has never set their password (or both) |
Creating Multiple Users via Import Template
WiredUp allows you to import multiple users at once using the Users import template. This is particularly useful when onboarding several users simultaneously.
- Click on the Imports/Exports module from the ribbon at the top of the screen then select Imports from the 3-bar menu

- In the Templates icon on the right side of the screen, search for or scroll to find Users.

- Click to download the Users template from the list. The template will be in Excel format (.xlsx).
- Open the downloaded Users template in Excel and fill in the required user information for each user you want to create.
 Note: New users created through import will have Multi-Factor Authentication enabled by default.
 - Return to the Imports module in WiredUp and select the '+' icon to add the import

- Select Users as the Import type and click the Select Files button to upload the file.

- Select your completed template file from your computer and click Save to process the import.
- Once the import is complete, review the import results to ensure all users were created successfully.
- Check for any errors or warnings and address them as needed.
Editing an Existing User
To edit an existing user's information:
- Go to Administration > System > Users.
- From the list of users, click on the user you want to edit.
- Update any of the user information as needed
- Click the Save button in the top right corner to apply your changes.
Transfer Ownership
The Transfer Ownership feature allows administrators to permanently reassign ownership of various items and responsibilities from one user to another. This is a permanent action that cannot be reversed, so it should be used carefully and only in situations where ownership needs to be permanently transferred.
When to use Transfer Ownership:
- When an employee is permanently leaving the organization
- During permanent role transitions or organizational restructuring
- When permanently redistributing workload or responsibilities among team members
When NOT to use Transfer Ownership:
- For temporary reassignments (e.g., vacation coverage, short-term leave)
- When a user needs temporary help with their workload
- For temporary role coverage
Note: For temporary assignments, such as when a user goes on leave or needs to temporarily delegate tasks to another user, use the Delegations feature instead. Delegations allow you to set start and end dates and can be easily reversed.How to Transfer Ownership:
- Go to Administration → Users
- Click the Transfer Ownership button (located in the top-right of the Users screen)
- In the Transfer Ownership dialog, configure the transfer:

- Transfer From: Select the user you want to transfer items from using the dropdown menu. This is the current owner of the items.
- Transfer To: Select the user you want to transfer items to using the dropdown menu. This user will become the new owner of the selected items.
- Under Items To Transfer, select the checkboxes for the specific items you want to transfer. The system displays the count of items in brackets next to each option, showing how many items the "Transfer From" user currently owns:

- Outstanding Actions (X): Transfers ownership of all open/incomplete actions assigned to the user
- KPI Owners (X): Transfers ownership of Key Performance Indicators where the user is designated as the owner
- Outstanding Approvals (X): Transfers pending approvals that require the user's review and sign-off
- Ideas As Owner Or Facilitator (X): Transfers ideas where the user is listed as the owner or facilitator
- Idea Concepts As Owner Or Facilitator (X): Transfers idea concepts where the user is listed as the owner or facilitator
- Stakeholder (X): Transfers stakeholder assignments where the user is designated as a stakeholder
- Meeting Organiser (X): Transfers meetings where the user is the organizer
- Risk Owner (X): Transfers ownership of risks where the user is designated as the risk owner
Note: If the Transfer From user has zero items in a particular category, it will display as "(0)" next to that option.
- Review your selections carefully to ensure you're transferring the correct items to the appropriate user
- Click Save to complete the transfer
Important Considerations:
- This action is permanent and cannot be reversed - once ownership is transferred, it cannot be automatically undone
- The transfer is immediate once you click Save
- Only select the items that are relevant to transfer - you don't need to select all categories
- Ensure the "Transfer To" user has the appropriate permissions and role access to manage the transferred items
- The transfer does not affect the user's account status, roles, or permissions - it only reassigns ownership of specific items
- If you need temporary coverage, use the Delegations feature instead
Deactivating a User
To deactivate a user without deleting their account:
- Navigate to Administration > System > Users.
- Click on the user you want to deactivate.
- Use the toggle button at the top right to set the user status to Inactive.
- Click Save.
Note: When a user is set to Inactive, they will receive a "User is disabled" error message if they attempt to log in.Next Steps
After creating or editing users, consider the following:
- Assign Data Access: Configure specific data access permissions for the user. See the User Data Access article for more information.
- Configure Role Permissions: Ensure the assigned roles have the appropriate permissions. See the Create and Edit a Role article for guidance.
- Set Up Role Data Access: Define what information users with specific roles can access. See the Role Data Access article for details.
- Configure Multi-Factor Authentication: Understand how MFA works and manage MFA settings for users. See the Multi-Factor Authentication article for more information.